HARDWARE REVIEW: THE MOSAIC MEMORY EXPANSION KIT FOR THE ATARI 400
MOSAIC ELECTRONICS
PO BOX 748
OREGON CITY, OR 97045
$79.00 FOR KIT
by Tom Hudson
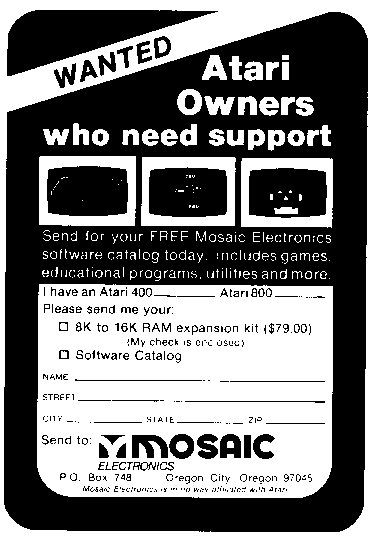
Are you one of the many Atari 400 owners with only 8K of memory? If so, you probably wish you could use the high-resolution GRAPHICS 8 mode. Don't despair, because Mosaic Electronics has introduced an expansion kit which allows the user to increase the 400's memory to 16K. It can be installed by anyone who knows how to use a soldering iron. It allows the use of the Atari's excellent high resolution graphics mode 8, and, of course, allows you to enter larger programs. This is especially important if you want to use the Atari Editor Assembler Cartridge with the cassette recorder. When using the cassette with the assembler, you must have your entire source program in memory at once, and with only 8K, there is not much room to work with.
The Expansion KitThe expansion kit comes complete with everything you need except a screwdriver, a soldering iron and long-nosed pliers. You even get the solder and an IC puller (a small tool which allows easy removal of the old memory chips). The introductions are the best I've seen with such a kit, including a page of photographs to make the operation go much smoother.
The expansion is accomplished in three steps: disassembly of the computer, modification of the RAM board, and re-assembly. The instructions include a list of precautions which, if followed, will eliminate any problems. I will highlight the most important here.
The disassembly is the easiest part of the expansion. The trick is remembering how to put it all back together! After removing the four bottom screws, remove the top cover and keyboard (the keyboard ribbon must be carefully detached from the main circuit board). Take a few minutes to study the internal arrangement of the 400. Note the placement of the internal speaker and black video cable (behind the large metal enclosure). As you follow the instructions for disassembly, it may he a good idea to label all screws with masking tape, since they are not inter changeable (several different kinds are used).
Next comes the actual modification of the RAM board. It is the small upright board toward the front of the 400. Note its orientation within the machine for later re-assembly. Follow the modification instructions carefully, and triple-check your work. Make sure no connections are shorted by stray solder.
After you have modified the RAM board, it is time to re-assemble the unit. The screws should be tight, but do not force them, especially the ones in the plastic enclosure. Be very careful with the keyboard ribbon cable, as overbending it can cause damage.
When your computer is re-assembled, insert the BASIC cartridge and turn on the power. The BASIC "READY" prompt should appear. If not, go back and check all your modifications. If you cannot locate the problem, Mosaic will do it for $1 shipping and handling. This shouldn't be necessary, though, if you follow the instructions carefully and check your work.
Remember that user modification of the Atari will void your warranty. However, if your machine is more than 90 days old, this makes no difference.
In summary, the Mosaic memory expansion kit is an excellent way for Atari users to expand their computer's capabilities. The reasonable price ($79.00) and easy-to-follow instructions make this a kit that practically anyone could build. Plus, those GRAPHICS 8 graphics look even better when you know you made it possible.
